Android Studio Preview has been released one year ago in June 2013. I've been using it for one year. Just for fun, to keep an eye on Android. Android Studio had a lot of updates. Many of these updates broke the projects I was working on. They warned me: "It's pre-release software!" They were right.
The new features in the beta version are highlighted here: http://tools.android.com/recent/androidstudiobetareleased
How can you install Android Studio Beta? This is not *that* simple...
What if you already have Android Studio Preview ?
Note that you can't upgrade from Android Studio Preview to Android Studio Beta. These are two separates products. If you are using Android Studio Preview, you have to uninstall it. At least that's what I have done. I haven't tried to keep both version (preview and beta) side by side, although it might be possible.
You may want to keep your existing SDK folders, if you don't want to download them again. Just copy them in another folder, and copy them back in the new Android Beta installation folder.
Download and install
Download Android Studio Beta developer.android.com/sdk/installing/studio.html. It is a 370Mb setup program (Windows/Mac). The Linux version is slightly larger (410Mb).
I'm using Windows 8.1. The Windows Setup program isn't digitally signed (did Google forget to do it?) Windows 8.1 displays a few warnings and is a bit reluctant to execute this unsigned code.
Choose an install directory where you have a few gigabytes available, because you will later have to download the Android binaries and SDKs in a subdirectory of this install directory.
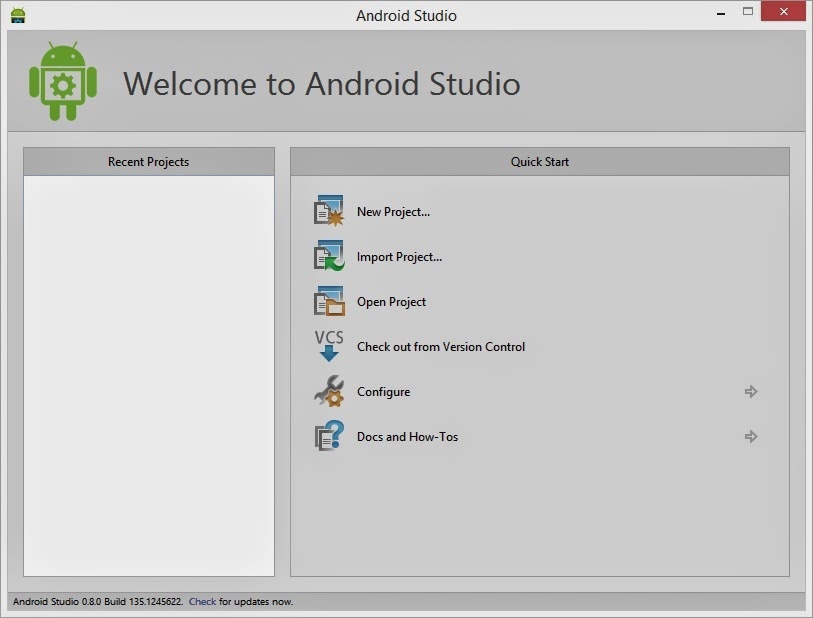
When you launch Android Studio Beta 0.80, you get the following welcome screen:
SDK Manager
The first thing to do now is *not* to create a new project. You need to download Android versions and SDKs. So, click on Configure option to display Configure options:
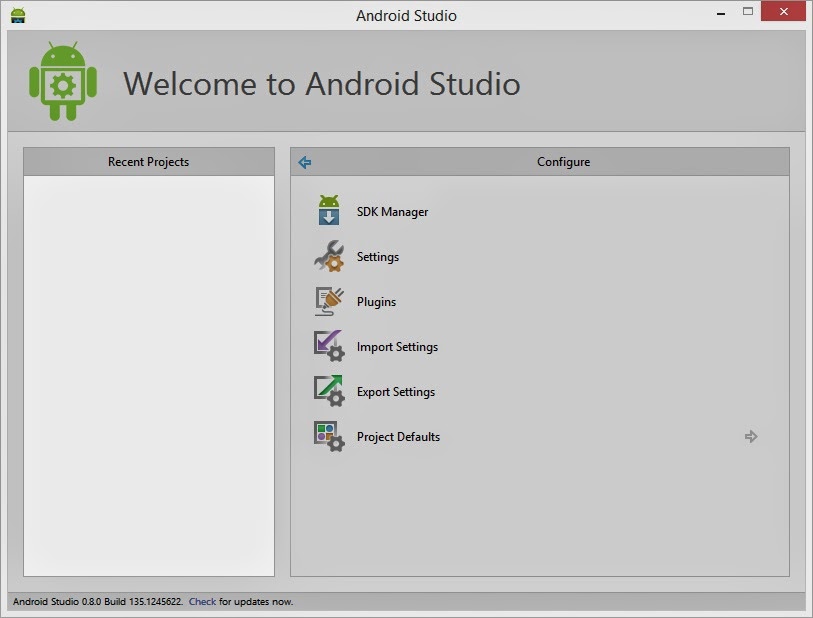
Now you can run the SDK manager.
You can also launch the SDK Manager from the Android Studio main window, clic on menu Tools/Android/SDK Manager.
SDK manager let you download and configure Android tools and SDKs you need to build your apps. You can find more info on it on android.com http://developer.android.com/tools/help/sdk-manager.html. SDK Manager is an independent executable file, so you can also run it directly from a command prompt or Windows Explorer. You have to configure your PATH variable correctly for that.
Here is how it looks on my machine, after I have downloaded and installed the minimum stuff. It may be different on your machine, depending on what you already have installed.
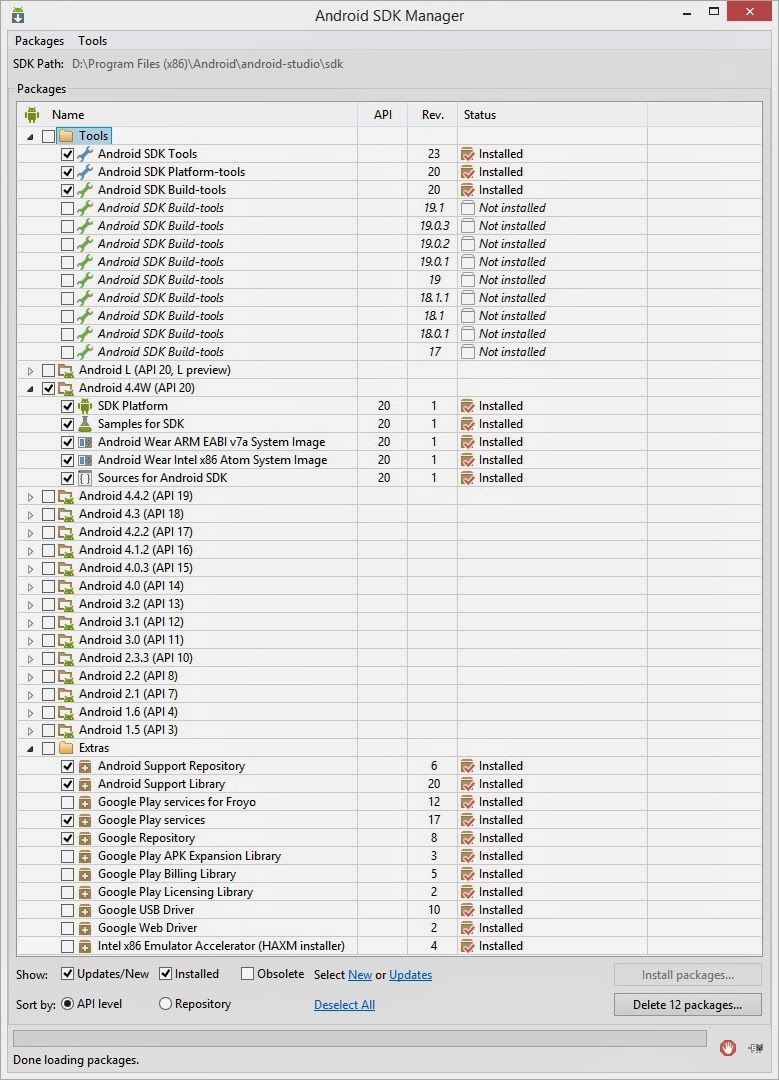
SDK manager let you download and install build tools and Android versions. Check the items you need and click on the Install Packages button. You can download 3 types of stuff:
- SDK build tools. You need these to build your app. You must download and install the last version of three components, so check them :
- Android SDK Tools
- Android SDK Platform Tools
- Android SDK Build Tools
- Android versions. Choose the version of Android you want to compile for. This is generally the most recent. Check API 20. For each Android platform, you can select one ore more options :
- SDK Platform: this is mandatory
- Samples for SDK: sample source code
- Sources for Android SDK: the source code of Android. This is usefull even for beginners, when you want to debug your code and understand how Android really works.
- Android System Image: the Android Image for the emulator. Choose at least one of the 2 emulator images if you want to use Android Emulator for debugging purposes.
- Extras. You need at least the following components. But you can download all of them, they don't take much disk space.
- Android Support Repository
- Android Support Library
- Google Play Services
- Google Play Repository
Click on Install Packages button. It may take a few minutes to complete. After you have downloaded and installed everything, your SDK Manager window should look like the image above.
Create or import your project
Now Android Studio is ready for you to build your app.
You can create a New Project from the welcome screen and see how easy it is to build and run your first app.
If you were using Android Studio Preview, and are now using API 20, you will have to update your build.gradle application file (updated parts in yellow):
android {
compileSdkVersion 20
buildToolsVersion "20.0.0"
defaultConfig {
minSdkVersion 15
targetSdkVersion 20
versionCode 1
versionName "1.0"
}
buildTypes {
release {
runProguard false
proguardFiles getDefaultProguardFile('proguard-android.txt'), 'proguard-rules.txt'
}
}
}
Don't forget to get last informations on Android Studio on developer.android.com or on android-developers blog
Note that the patch is available in the beta channel, not the usual canary channel.
So, if you want to apply the patch for version 0.8.1, you must change your update channel to "beta channel" (menu File/Settings/Updates), and then check for updates again (menu Help/Check for updates).
Note for version 0.8.1
A new Android Studio 0.8.1 is available (June 28th).Note that the patch is available in the beta channel, not the usual canary channel.
So, if you want to apply the patch for version 0.8.1, you must change your update channel to "beta channel" (menu File/Settings/Updates), and then check for updates again (menu Help/Check for updates).
No comments:
Post a Comment